Auto Probing With G-Code Ripper
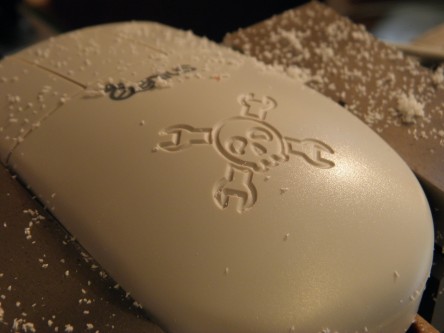
When g-code is generated by most software it is assumed that the stock material is flat and level. Sometimes the stock material is warped, not mounted level or was never intended to be flat. One way to overcome the problem of un-level stock material is to machine a flat area onto the stock material or to invert your thinking and cut only what isn’t the design you want. An extreme example of the second case is illustrated in the bat I modified for my brother (see the “Man Cave” bat below).
Another approach to dealing with stock material that is not level is to measure the existing geometry and account for the un-level geometry. This can be a tedious task to perform manually and many programs used to generate g-code for CNC machines have no mechanism for accounting for the out of level condition of the workpiece.
G-Code Ripper‘s solution is to read g-code generated for flat stock and modify the code to include probing of points on the stock material using the CNC machine. The resulting probe data is used to automatically adjust the tool paths in the g-code file. The probe points are arranged in a grid pattern and the cut depths over the range of the tool path are determined by Bilinear Interpolation. G-Code ripper keeps track of which points are needed for calculating the interpolated Z positions for the tool paths. Probe points that are not required during cutting are not measured during the probing process. G-Code Ripper allows the tool and the probe to be in different locations, the location of the probe relative to the tool is entered into the probe offsets settings in G-Code Ripper.
Using Auto Probe in G-Code Ripper:
You will need to have a working probe and be running either LinuxCNC or Mach3 as your machine controller. You don’t need anything fancy for a probe. simple momentary switch will work just fine in most cases. I have been using a momentary switch I had in my parts box. You can see what my setup looks like in the embedded video below. There is good information for setting up MACH3 and LinuxCNC probes on the Autoleveller site.
Get G-Code Ripper Here: G-Code Ripper
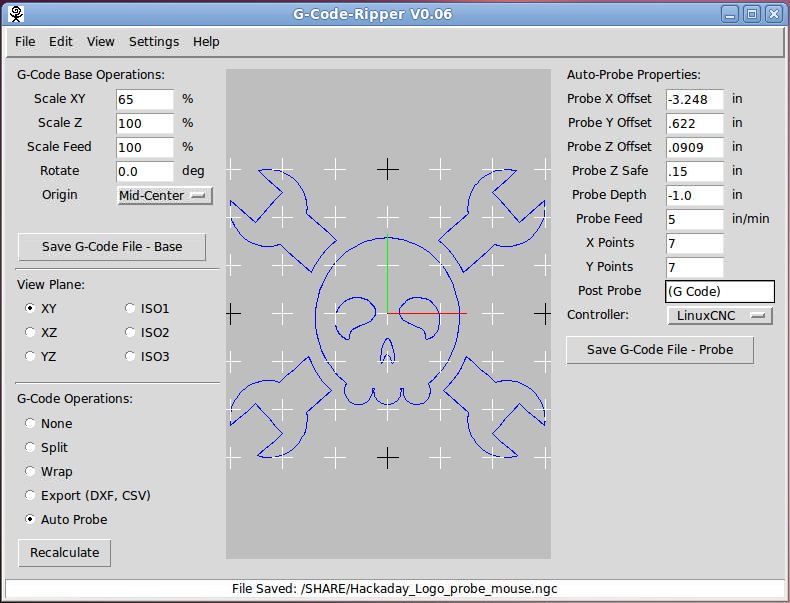
1. Open an existing G-code file (if it open properly the tool path will be shown in the display canvas)
2. Select the Auto Probe option from the radio buttons in the lower left corner of the G-code Ripper Window.
3. Set the options on the right side of the window. (Details for each of the options can be found here G-Code Ripper Manual)
4. Save the G-code file using the button on the right side of the window.
Background:
The basic operation of G-Code Ripper’s auto probe routine is based on the technique that is used by Autoleveller. In fact G-Code Ripper even uses the same form of the bilinear interpolation equations. However, Autoleveller is specifically geared toward creating circuit boards. Since the circuit board has a conductive surface the probing can be performed using an electrical circuit which includes the cutting tool in the collet and the top of the printed circuit board. Using the cutting tool as the probe has the advantage of ensuring there is no offset between the probe and the tool. Autoleveller also assumes the workpiece is very close to flat (Autoleveller uses the first probe point to determine a new zero reference) G-Code ripper does not make any such assumption.


